10,000 +
Happy patients
85 +
Years of Combined Doctor Experience
1 150 +
5 star Google and Yelp Reviews
40
Years of Stellar Dental Service in Los Angeles
Meet The Doctors
Dr. Kezian’s mission is to provide our patients the very best dental care in the most caring, supportive, and nurturing manner possible. We also believe in promoting long-term dental-health through focusing on cosmetic dentistry in Los Angeles, dental implants, and root canal treatment using the most superior treatment available. To that end, we employ highly-qualified dental professionals and utilize leading-edge technologies. We listen carefully to our patients, and partner with them to maintain their dental health. Our focus on aesthetic and cosmetic techniques further supports this commitment to provide the best overall long-term dental care, and to enable our patients to look and feel their best. Choose Dr. Arthur A. Kezian DDS, for all your cosmetic dentist needs in Los Angeles, root canal therapy, dental implants, dental veneers, teeth whitening. Give us a call today, you deserve it, (323) 467-2777.

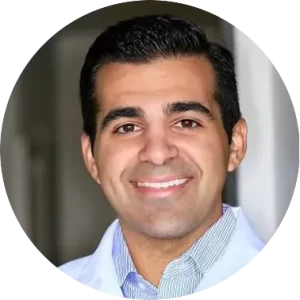
Dr. Arthur Kezian
Surgical – Cosmetic – Restorative
Dr. Arthur Kezian is an award winning and renowned dentist. As a graduate of UCLA Dental School, he earned The Doctor of Dental Surgery degree in 1983. Bachelor of Science in Biochemistry from UCLA in 1979. He was a faculty member in both departments. Dr Kezian is an authoritative and a published dentist in the areas of Cosmetic, Surgical and Implant dentistry and …
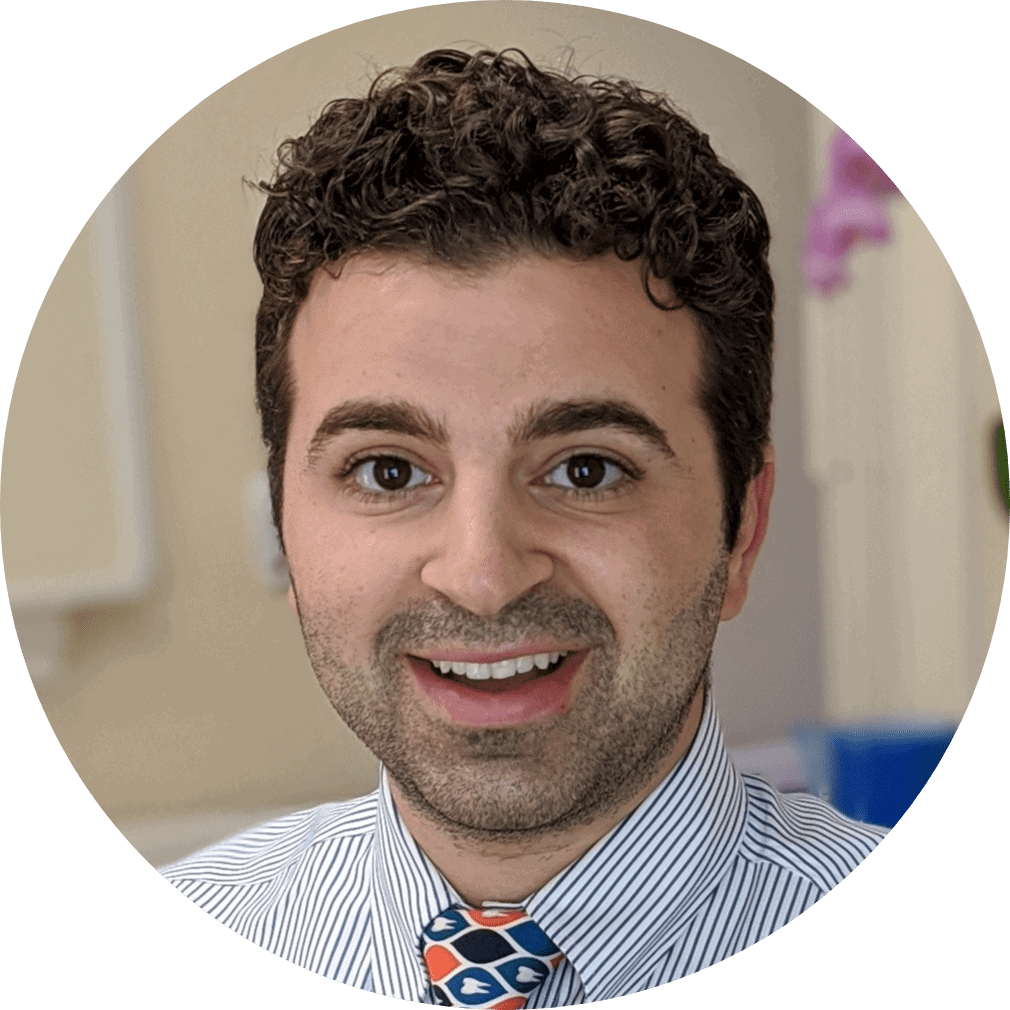
Dr. Michael Kezian
Cosmetic – Root Canal – Restorative
Dr. Michael Kezian, a Los Angeles Cosmetic Dentist, is a graduate of the prestigious University of the Pacific Arthur A. Dugoni School of Dentistry where earned The Doctor of Dental Surgery degree. Prior he earned his Bachelor of Arts in Applied Sciences from Thomas J. Long School of Pharmacy and Health Sciences.
Dr. Steven Kezian
Cosmetic – Restorative – Pediatric
Dr. Steven Kezian, a dentist in Los Angeles, also graduated from UOP School of Dentistry in 2020. He obtained his Bachelor of Science degree from UCLA in the field of Neuroscience, and chose to pursue his Masters of Science in Biomedical Research at Western University of Health Sciences prior to dental school. This academic background has fueled a passion for clinical innovation and a focus on evidence-based dentistry.
Our Dental Services
Porcelain Veneers
Porcelain laminate veneers are probably the most esthetic means of creating a more pleasing and beautiful smile.
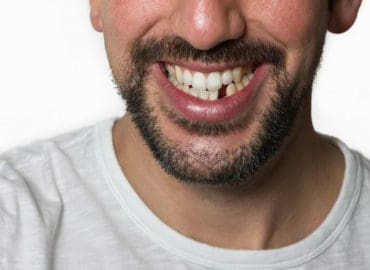
Dental Implants
Dental implants may be an option for people who have lost one or more teeth due to to various reasons.
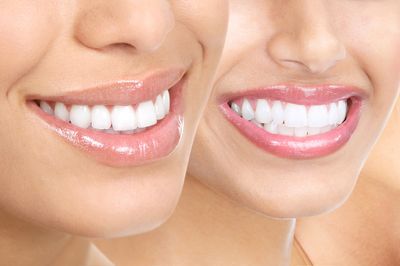
Cosmetic Bleaching
The most effective procedure for whitening your teeth. Everyone wants sparkling white teeth.
Root Canal Therapy
Eliminate pain, repair and save your tooth, and protect the tooth from future infections.
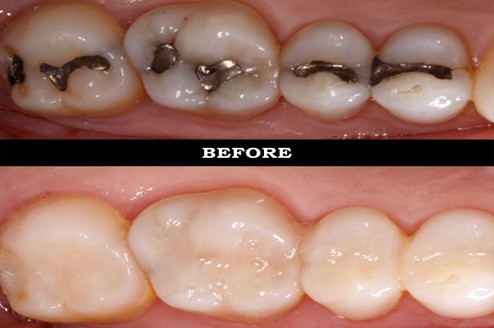
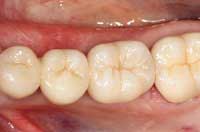
White Dental Fillings
White dental fillings, also called composite fillings, are tooth-colored restorations used to repair decayed or damaged teeth discreetly.
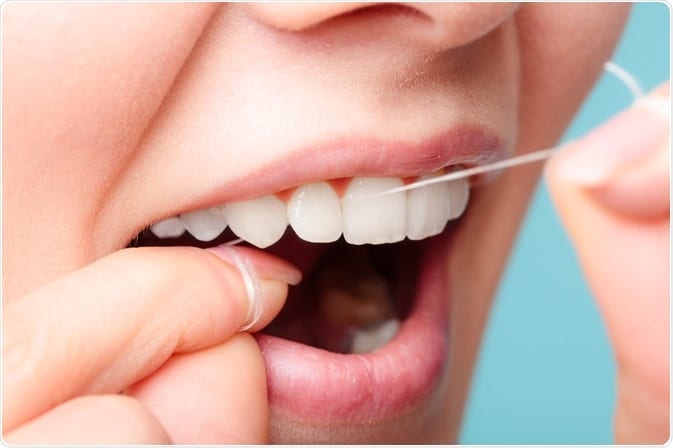
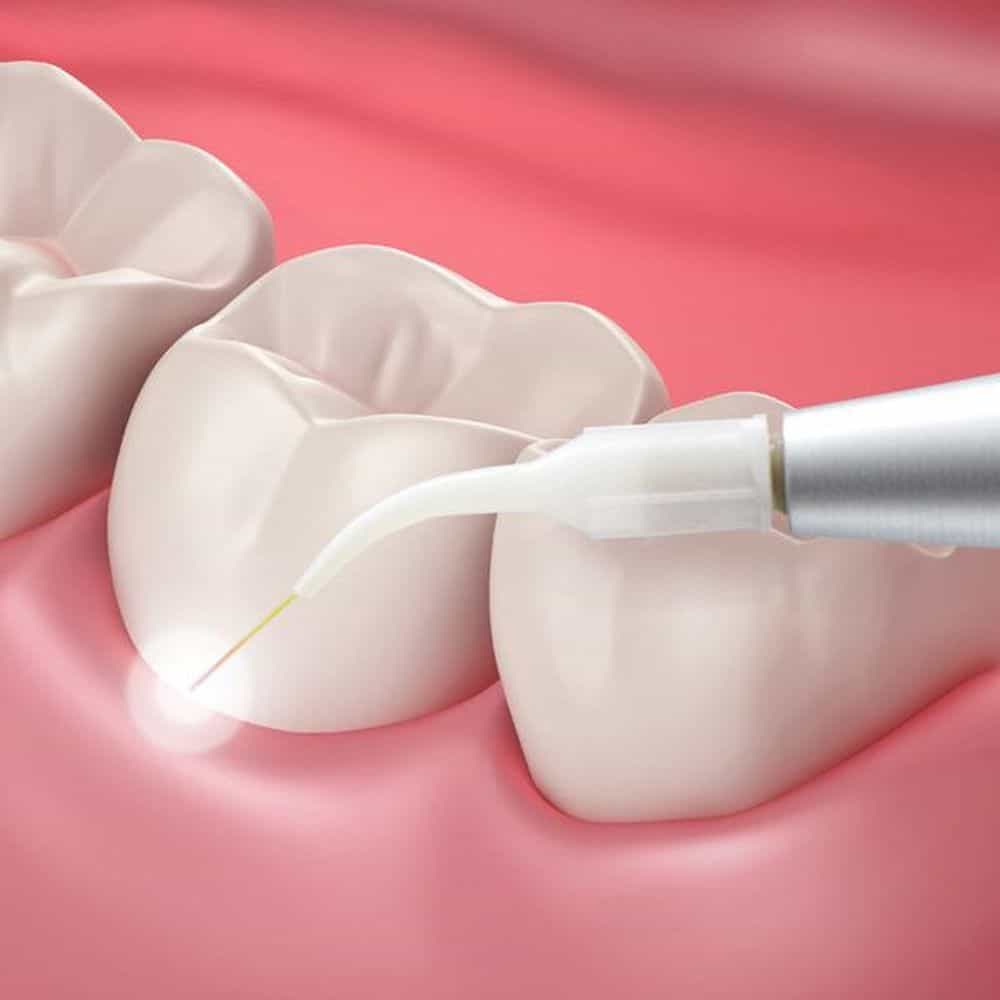
Gum Treatments
Dental gum treatment aims to address gum diseases, like gingivitis and periodontitis, through professional cleanings and therapies.
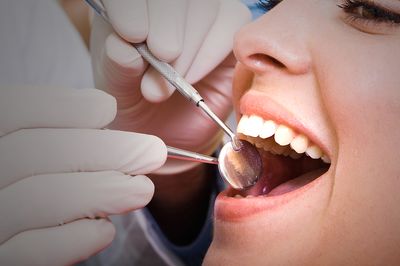
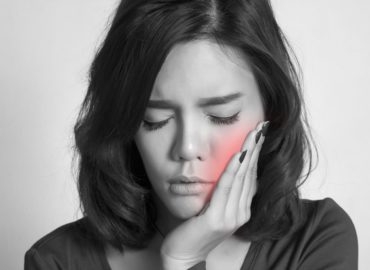
Emergency Dentistry
Emergency dentistry provides immediate dental care for urgent issues, such as severe pain, injury, or infections, ensuring prompt relief.
Digital Dentistry
Digital dentistry employs advanced technology, like digital imaging and CAD/CAM, for precise, efficient, and innovative dental solutions.
Why Choose Us
7 Reasons To Visit Our Office:
- Expertise: Dr. Arthur Kezian conveys the authority and expertise of the dental profession with over 40 year of experience.
- Comprehensive Services: They offer a wide range of dental services, from routine check-ups to advanced procedures.
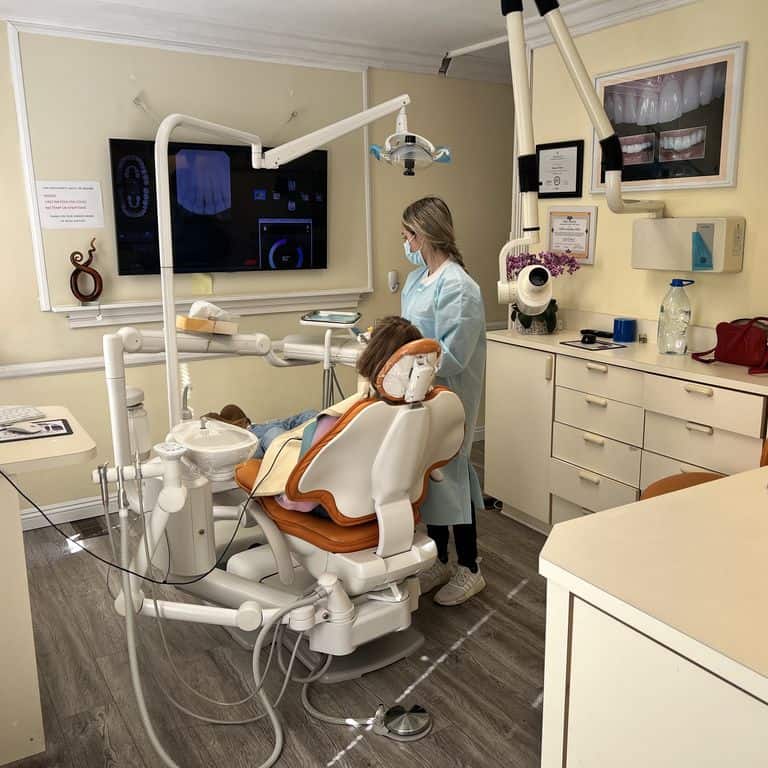
- State-of-the-Art Technology: The office is equipped with cutting-edge dental technology for accurate diagnosis and effective treatments.
- Patient-Centered Care: They prioritize patient comfort and tailor treatments to individual needs, ensuring a positive experience.
- Exceptional Reputation: The reputation for over 40 years in this community is one of trustworthiness and excellent service, as evidenced by the offices abundant and glowing reviews.
- Friendly Staff: Patients appreciate the warm and trustworthy atmosphere, making visits stress-free and enjoyable.
- Convenient Location: The office is conveniently located, making it accessible and hassle-free for patients to schedule appointments.
100% Fully Vaccinated Dental Staff
We’re operating with 100% fully vaccinated dental staff, but we understand that many are hesitant to take this step. Although COVID-19 restrictions are not as rigorous as they first were, we should not forget that we’re still living through a pandemic and one of the best things we can do right now is to get vaccinated.
Click to Find Out More
Updated Coronavirus Protocols for Emergency Dental Services
Dr. Arthur A. Kezian and his office staff members are dedicated to maintaining the highest level of safety and protection during the limited reopening of his dental office during the Covid-19 crisis with updated emergency dental services and protocols. We all feel it is our direct responsibility to protect our patients, our staff, and our community. We would like to share with our patients the updated dental emergency coronavirus protocol changes and new protocols we have implemented in our dental office.
Click to Find Out More
Patient Reviews
Rated 4.9 out of 5 stars based on 1156 Google & Yelp reviews.
 Cheryl Hendricks5/12/2024I've been going to this practice for at least 10 years after they were recommended by a friend. Very professional, friendly, and better organized than pretty much any dental or medical practice I've been to.read moreread less
 Paisley Peterson5/12/2024The whole staff is amazing! Highly recommend. So accommodating, and made for an easy dental experience!read moreread less
 Pam Christian4/28/2024Came in for a second opinion and left with a new dentist! Dr. Mike is great; very knowledgeable and clear spoken. Love that it’s a family run business. Well organized and very friendly.read moreread less
 Eloisa Tovar4/28/2024I have been feeling so much better since starting treatments at Dr. Kezian's office. They have a great network for second opinions and specialists. They keep me informed on what steps are needed and where I am in my treatment plan. They are above and beyond patient with my anxiety. I do not wish gum disease on anybody but this is definitely the place I would recommend for healing and maintenance.read moreread less
 jarrett hill4/27/2024i was referred here by a friend and i friggin love this dentist. and i’ve hated dentists since i was a kid with a mean dentist that had always hurt me. dr. k’s appointments always make me feel remembered/known, cared about, and well taken care of. 🏽✨read moreread less
 Kimberly Todd4/27/2024Great dentist. Very friendly/knowledgable team and nice office. 😊read moreread less
 Theodore James4/24/2024I love all of them. They are like family to me.read moreread less
 Elizabeth M4/24/20241st visit is remiscent of old school dentistry, where service and explanations are forefrontread moreread less
 shiuvaun egan4/23/2024I was able to get an appointment quickly to get my cleaning and have a sore molar checked out. Dr. Steve was wonderful.. He reassured me about my tooth and was able to save it! The office staff is always so nice. I love their office, very clean, great location in Larchmont and so easy to find parking.read moreread less
 Wayne Carlisi4/22/2024The best dental experience I’ve ever had. I would recommend them to anyone looking for a dentist!!!!!!!!read moreread less
 Any Agopian4/22/2024I went for routine checkup and cleaning. Dr Tashjian and staff were very professional as always. My appointment was on time and went smoothly. Dr. Tashjian found that one of my crowns was loose. She removed it took X-rays and cemented it back. She explained each step and made sure I was comfortable and knew what to expect. A very positive experience overall.read moreread less
 Michele Scaife4/22/2024Absolutely fantastic visit. Everyone in the office was great. I felt well taken care of by the entire staff.read moreread less
 Adam Zeller4/22/2024Everyone at this office is extremely warm and welcoming. The dentists are conservative in their recommendations and won’t try to sell you on needless procedures. I’ve only starting using this practice but so far I’m extremely satisfied!read moreread less
 Charmine Sylvestre4/13/2024I wish I had a megaphone to scream to the top of the mountains. I was so so desperate to find any doctor that would fix the gap that I had between my front teeth. My confidence was to the floor especially since I am a model. I randomly called Dr. Steven’s office and he said I can come in. Immediately, I was greeted with warmth and kindness. Ugh. So amazing. Such a clean and beautiful office too. Dr. Steven was honest and gave me his professional opinion but I was so certain he can fix my gap without breaking my bank. He did it. Was so patient. Talked me through it and when I tell you I cried ?!?? I NEVER in my life felt this confident. He fixed it and I can’t stop smiling. I’ve never had pretty teeth like this. Thank you so much. I am so thankfulread moreread less
 Rebecca Shine4/13/2024The staff is very kind and goes out of their way to help you feel comfortable.read moreread less
 Kate P4/13/2024Friendliest staff, the best experience at the dentists I’ve had in my adult life. The office is warm and welcoming and Doctor Steven is extremely knowledgeable. I can tell he had my best interests and concerns in mind without being pushy about any procedures! I look forward to going back and making this place my dentist going forward!read moreread less
 Romina Nalli4/13/2024Outstanding family practice!! My mom and I have been coming here regularly for years now and they’ve been consistent with the quality of service and care. Dr. Steve and staff are fantastic. We will continue to get our dental cleaning, and all dental needs at Dr. Kezian’s office for many years to come. Friendly staff, quality care and top notch professionalism; what more can we ask for?! Thank you so much!!read moreread less
 T Bee4/12/2024I had a great experience at this very professional and friendly, family-owned practice. As a patient you are listened to, reassured and well looked after. Highly recommend.read moreread less
 Olivia Griffian4/11/2024I was having intense pain, and I stopped in without an appointment, and they were able to see me within 30 minutes. I remembered how great everyone in this office was from a 2022 visit when I brought my teenage niece in, and they were kind and accommodating. This time, they were equally concerned, polite, and incredibly professional.read moreread less
 Priscilla Sands4/11/2024It is a lovely and warm place. Everyone is extremely warm and professional. ~Dr. Sandsread moreread less
 Jackson4/08/2024Friendly and expert advice after needing an emergency appointment. Will return whenever I need a dentist!read moreread less
 Beth Henschel4/08/2024I have been a patient wirh Dr. Kezian’s office over 10 years ago. I am always highly satisfied with everyone that works here. They continue to provide top notch service and attention. Highly recommend!!!!read moreread less
 The Art Of Be4/08/2024Best Dentist I’ve ever had in my life. Patient and proficient in his craft. He made me feel like he really cared for my well being. I’m gonna have to keep going back cause I can’t trust anyone above him. This place is all together awesome. Not enough stars can be given here.read moreread less
 D Nordell4/07/2024I have been going to Dr Mike for several years now and have always found him to be very competent and professional as well as friendly and kind. The office staff is very warm and comforting, too. At my last visit I was able to look out in a beautiful garden from the dental chair!read moreread less
 Crystal McMillan4/07/2024Always a good experience with Dr. Kezian and staff. You really feel you are getting the best care. Welcoming atmosphere.read moreread less
 Joseph Lamping4/07/2024I am impressed by the professionalism that characterises this office.The staff works assiduously to ensure an appropriate experience.They pay attention to my concerns and make me feel comfortable.I am lucky to have such a dedicated team to take care of my dental health.read moreread less
 John Rojas4/07/2024Great service and great care! This place saved my tooth. For a very fair price.read moreread less
 C3/15/2024Dr. Steven Kezian was great! He took time with me and didn't try to push me into getting unnecessary work done. He always takes things step-by-step and makes sure patients are comfortable and informed.read moreread less
 Haunted by History3/15/2024Simply the best!read moreread less
 Glen Moore3/15/2024As always, my visit to the dentist was a pleasant one. The staff is all friendly and professional from the technicians to the office and reception, (thanks Karine for always keeping me up to date). Dr Tashjian is very kind and has a gentle but thorough hand. She explains every procedure and makes you feel very comfortable Its a lovely clean office and a very good vibe all around. I am so glad to have found them.read moreread less
Emergency Dentist in Los Angeles
Dr. Arthur Kezian, a reputed implant dentist in Los Angeles, is known for state-of-the-art dental care facilities and quality dental services. Dr. Kezian is a UCLA trained implant dentist, with over 1000 hours of implantology. We have been attending to needs of dental implant patients in and around Los Angeles for several years. We are the first of its kind emergency dental care that specializes in handling all kind of dental implants. Call us or fill up the booking form now if you want us to extend help in any of the above mentioned dental implant needs.
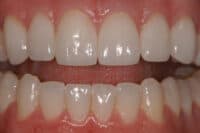
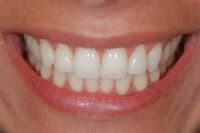
Before & After Video Gallery
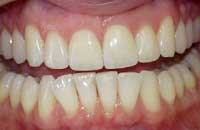
Dental Bleaching
Teeth Bleaching
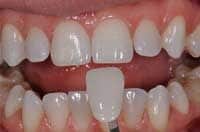
Custom Veneers
Dental Veneers
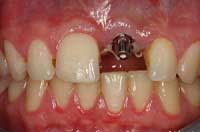
Dental Implant
Porcelain Crown
FAQs
What should I do if I have a Dental Emergency?
A dental emergency can happen at any time and anywhere. Types of dental emergencies can be caused by an impact to the mouth and include, chipped teeth, knocked out teeth, or loose teeth sometimes even a tooth abscess. It is vital that in the event of a dental emergency, one should visit their Dentist right away. If you are looking for an emergency dentist in Los Angeles, please call Dr. Arthur A. Kezian.
What do Dental Veneers cost?
Porcelain laminate veneers are probably the most esthetic means of creating a more pleasing and beautiful smile. They require a minimal amount of tooth reduction and are, therefore, a more conservative restoration than a crown. Traditional porcelain veneers cost between $925 and $2,500 per tooth, but can last between 10 and 15 years. Composite veneers cost about $250 to $1500 per tooth, and can last from five to seven years.
When Can I schedule my next dental appointment?
To maintain a good oral health, the American Dental Association suggests having a regular oral exam every six months. The best way to ensure you return for your next check-up is to schedule your next appointment before you leave the dentist office.
How to replace a missing tooth with Dental Implants?
Dental implants can help you if you want to replace one or more missing or damaged teeth. Dental implants offer numerous benefits. Missing teeth can greatly affect the quality of your life and so does loose and ill fitting dentures. Dental Implants are very tiny titanium posts that are placed into the jawbone where the teeth have gone missing. Choosing the best dentist for your dental implants is crucial to get the best value for your money and for results that can last a lifetime.
Latest Dental News & Articles
Types of Dental Implants in Los Angeles
Missing teeth can lower self-confidence, hold you from smiling, and cause serious dental health problems. So it's necessary to replace […]
What to Do if You Have a Weekend Dental Emergency
What to Do if You Have a Weekend Dental Emergency A dental emergency is scary any day of the week, […]

Wisdom Teeth Removal in Los Angeles
Your Guide to Wisdom Teeth Removal in Los Angeles Wisdom teeth can be the source of many dental problems. Since […]